October 2023 Updates
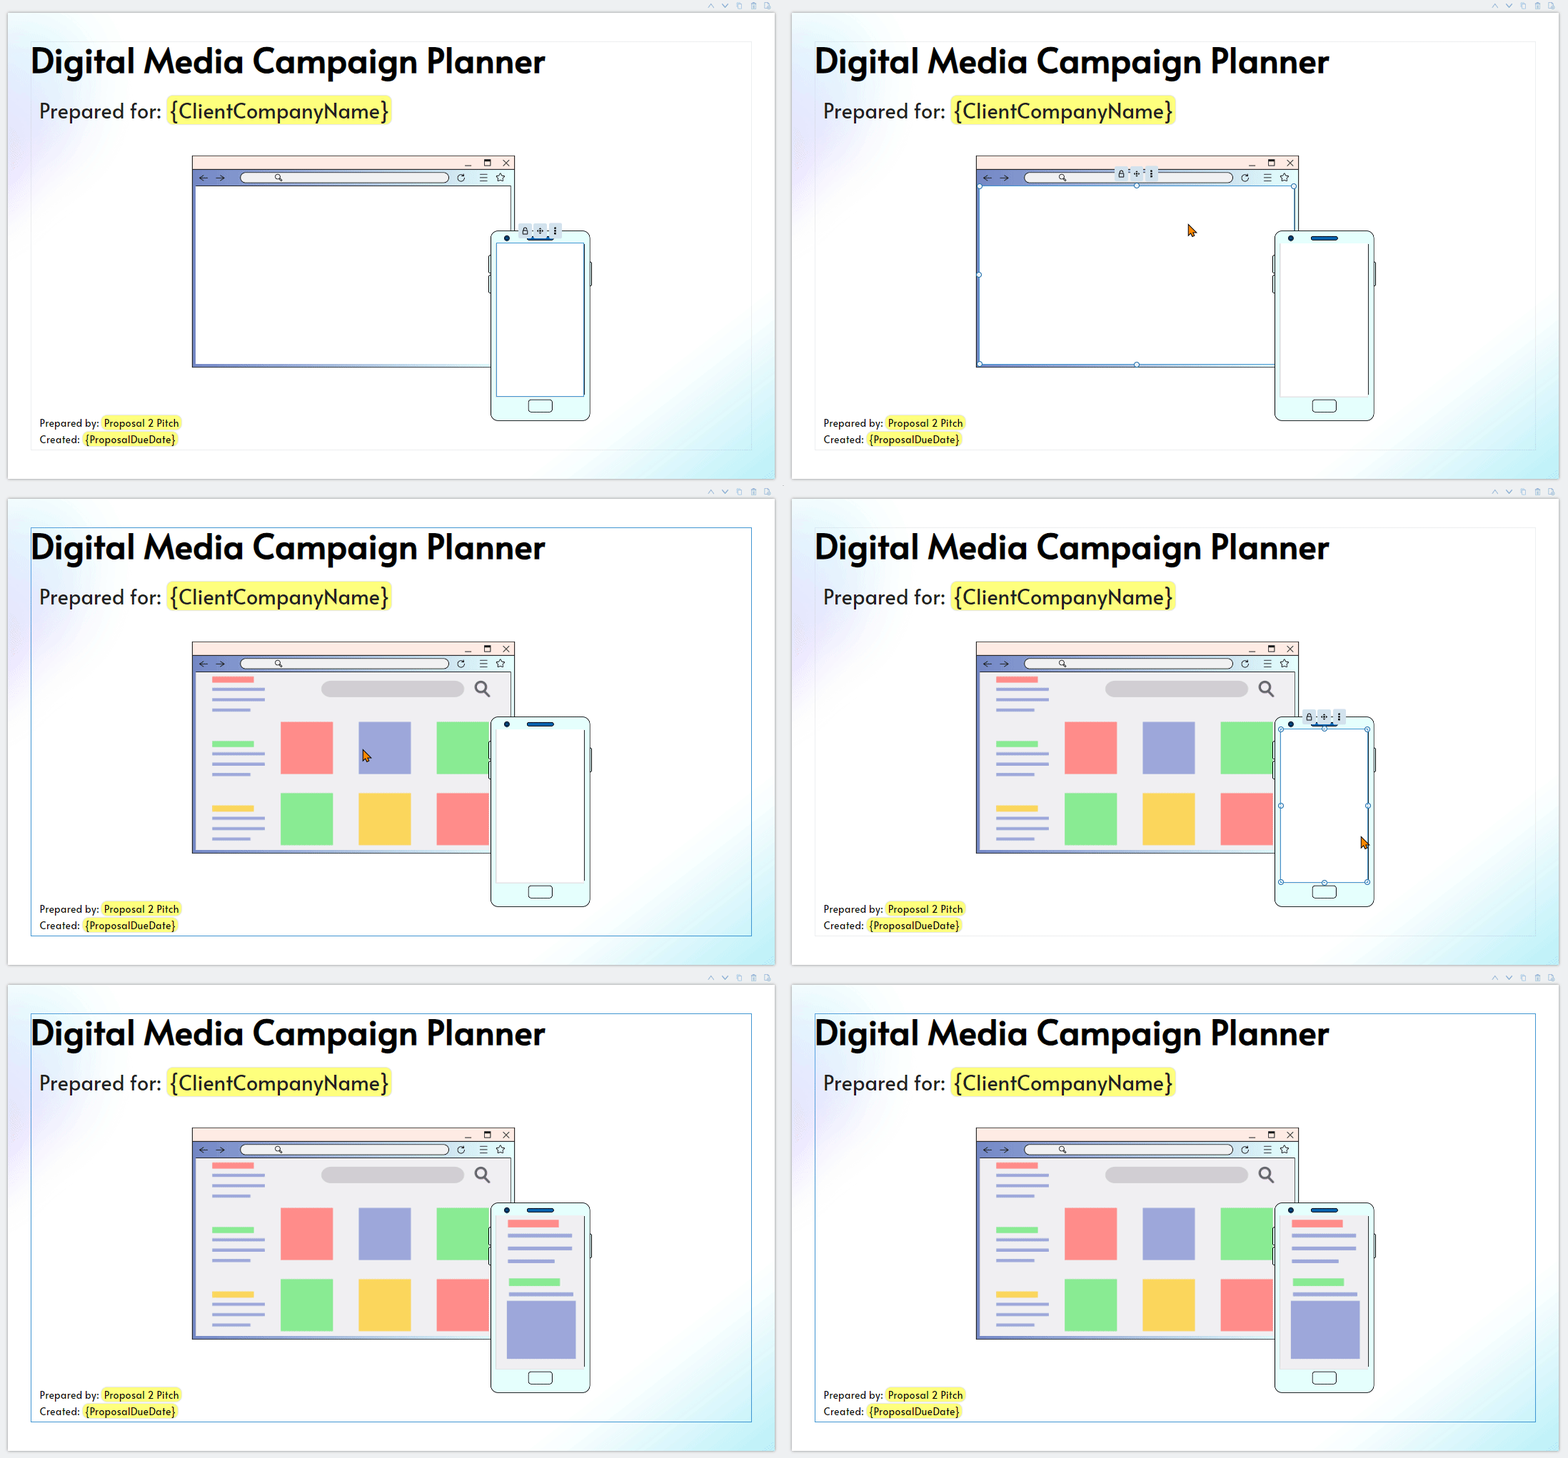
If your client has a website with strict bot control that prevents the site from loading, resulting in blank screenshots, there are default images behind the blank screenshots that you can use. Simply delete your blank screenshots and the default images will display.
When a proposal is sent to a client, it becomes “locked” for viewing and needs to be unlocked before changes can be made. Previously, this halted revisions to push through from the order on the portal and forced the user to first login to P2P and unlock the proposal. Now, a revision to the order will automatically unlock the proposal and make the necessary changes. **Note this does not affect signed proposals which aren’t able to be changed.
You are now able to submit multiple line items of the same product, within the same order. When you do so, the details from each line item are combined together into your proposal. You will still only have ONE section for that product, even if you have more than one line item for that product within your order. Within that section, certain data is combined, added, or removed:
Strategies: combined, duplicates removed (for example, if you are running the same strategies in both of your product line items, each strategy will only show once)
CPM: averaged, if you are running more than one line item for the same product, a note is added
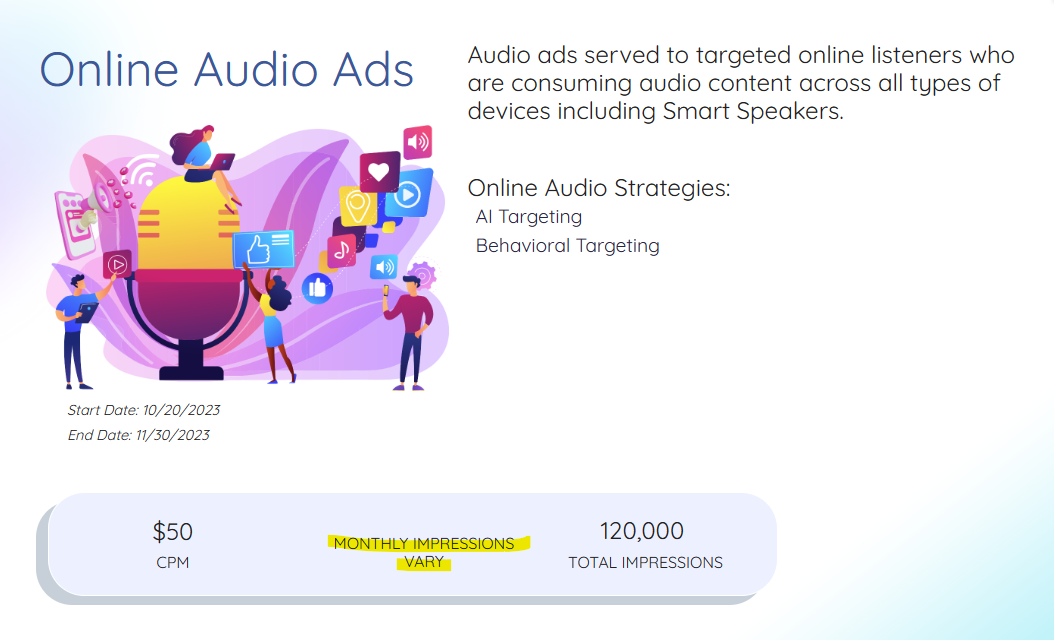
Note: the highlighted note is added whenever you are running more than one line item for the same product, but it’s possible your CPM is the same for both line items. If you want to remove the note, just edit your proposal and delete the text box.

Monthly Impressions: combined for line items with the same dates, hidden for line items with different dates
You will see a monthly impression number when running just one line item for a product, or if the dates for your multiple product line items are the same. You will see the note “MONTHLY IMPRESSIONS VARY” if you are running multiple line items for the same product, but with DIFFERENT dates, as the monthly goals are changing
Total Impressions: combined
Forecast: combined
Categories: combined, duplicates removed
Start date: the first start date for your product line items will show
End date: the last end date for your product line items will show
Months: will only show if you are running one line item for a product
Budget Details:
If you are running only one line item for a product, you will see the Monthly budget on the Budget Details page
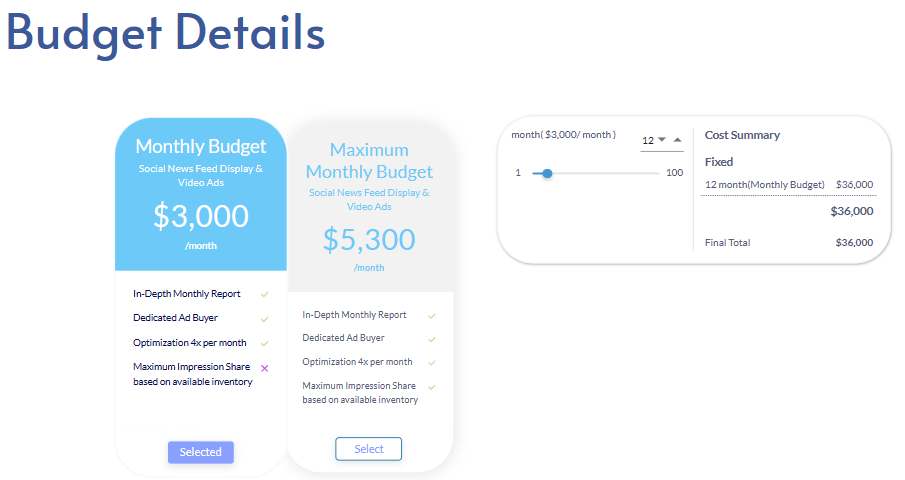
If you are running multiple line items of the same product, with the same dates, you will see the Monthly budget on the Budget Details page AND you will see a breakout of each of the line items on the Budget Breakout page
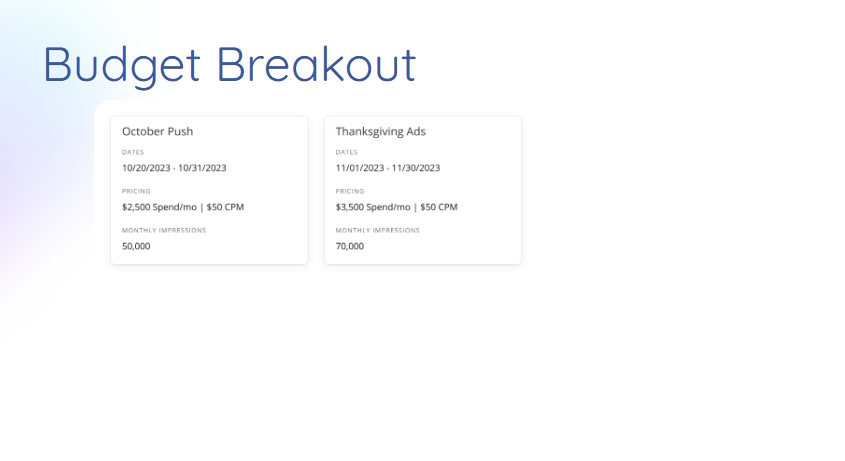
If you are running multiple line items of the same product, with different dates, you will see the Total budget on the Budget Details page AND you will see a breakout of each of the line items on the Budget Breakout page
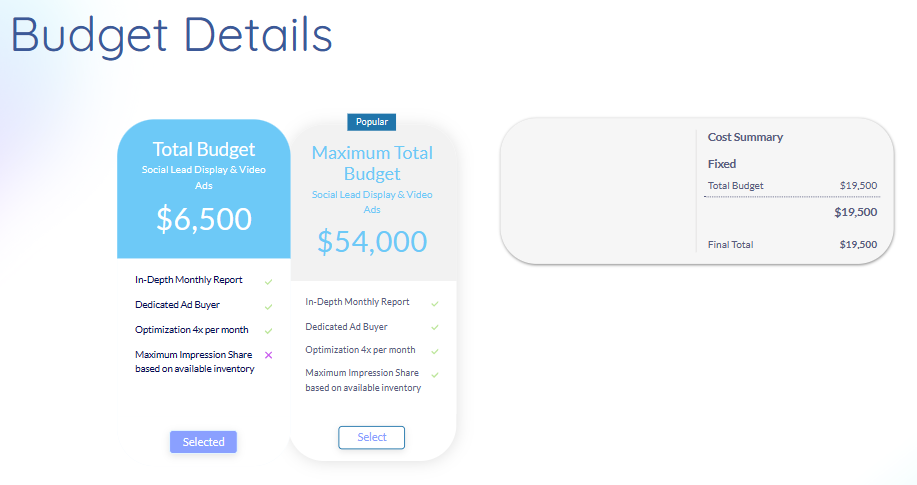
Budget Breakout:
You can control the headers of your line item breakout widgets on the Budget Breakout page by editing the “Campaign Name” field within the line item form - this helps you describe what the different line items are for

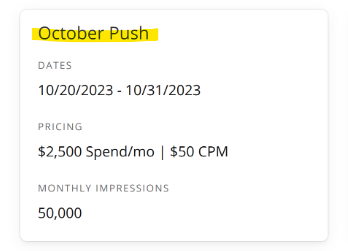
To offer more control over when a forecast is needed/shown, you now have the option to select “Yes” or “No” in the “Forecast Needed” field on the line item level.

You will still have the “Forecast Needed” field on the order level, and your selection will automatically save to your line items when you go to create them - this helps to save you time selecting that field on each of your line items!
Here are some scenarios you might want to select “No” for specific line items:
You are running a line item for a strategy, like Weather Trigger, that doesn’t offer forecasting
You don’t want to show the upsell budget from the available forecasted inventory
You need to pull the proposal immediately, and don’t need a Vici team member to run the forecast
The emails you receive when a proposal has been generated is now sent in HTML so all URLs are hyperlinked for ease of use.
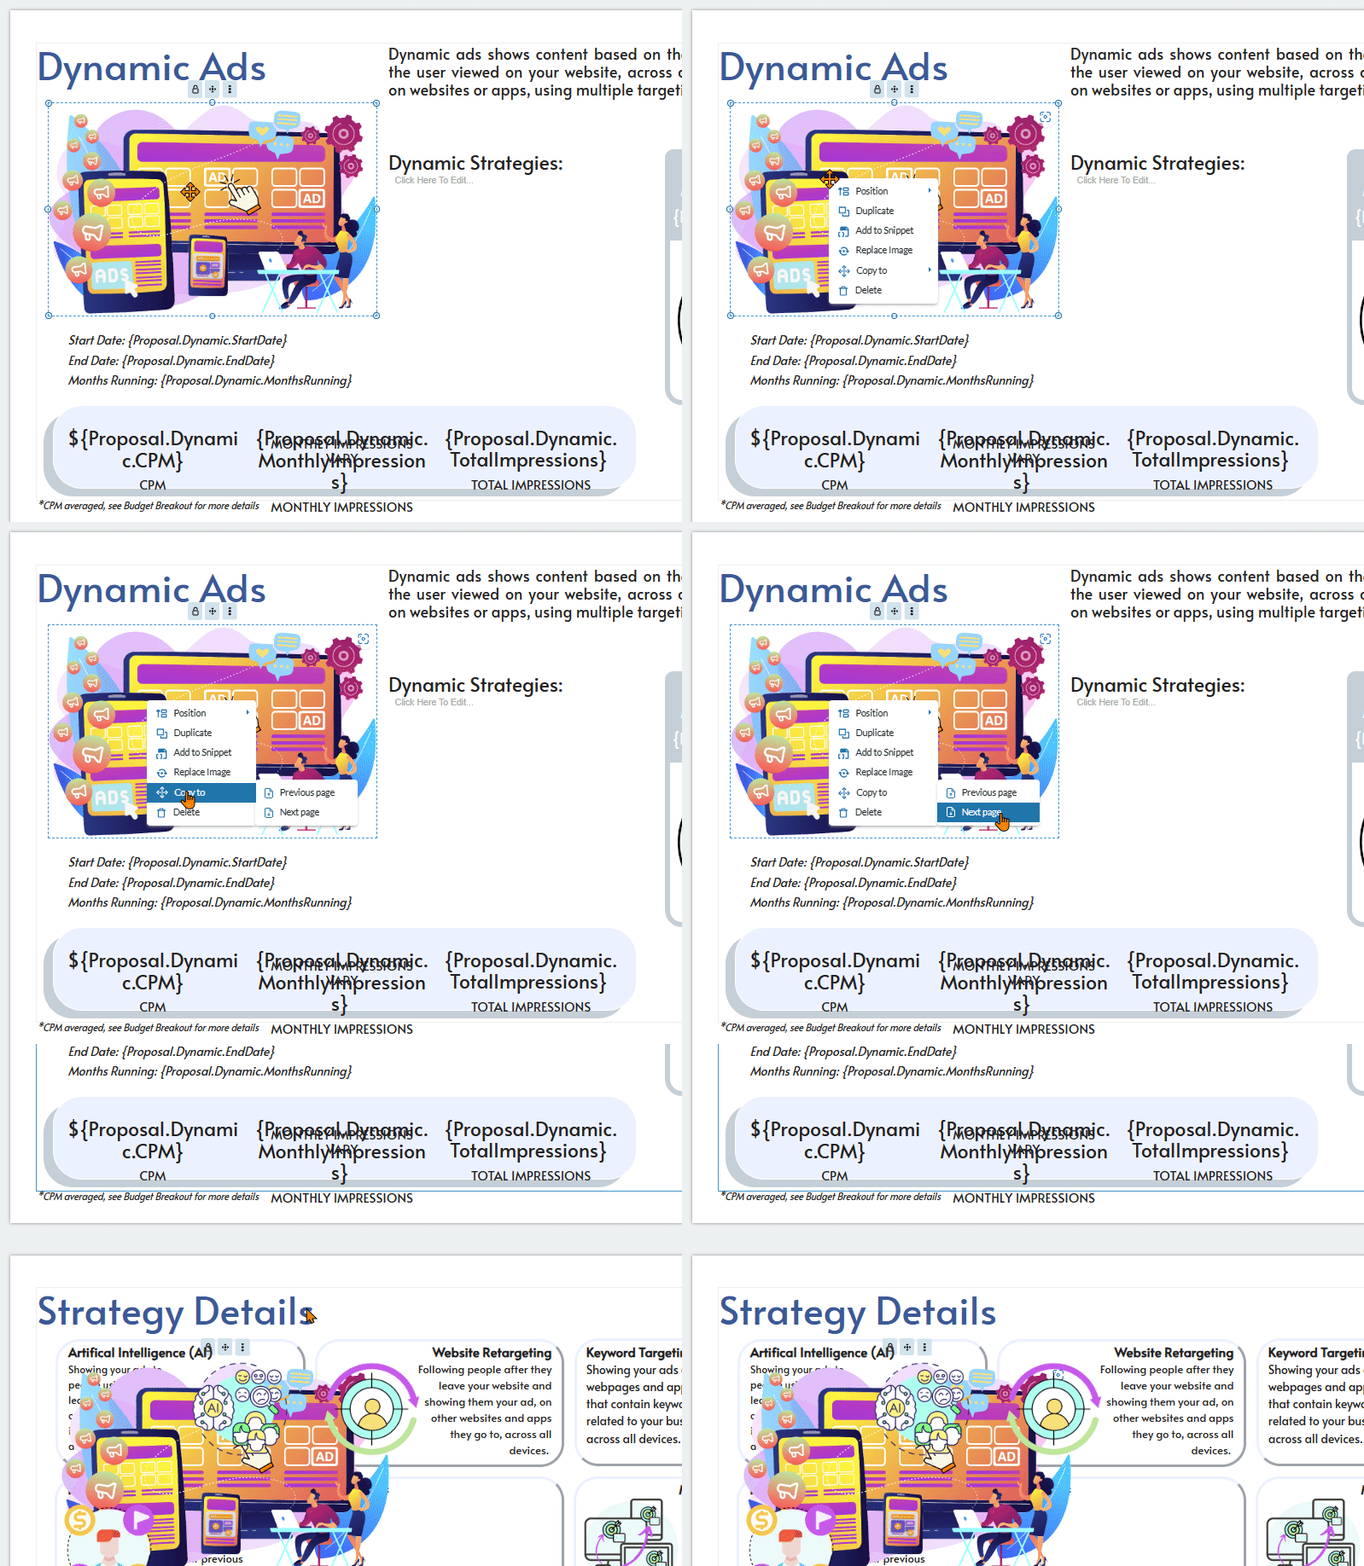
You are now able to copy elements from page to page, with the placement of the element matching the source page. Simply right click on the element and hover over “Copy to” and select where you want the element to be pasted - on the Previous Page or the Next Page.
